
Run Your LN Node on a Raspberry Pi
In this guide, I’ll show you how to set up a fully custodial Lightning Network (LN) node using Alby Hub on a Raspberry Pi, giving you complete control over your node. Alby Hub offers a DIY free version for a self-custodial Lightning wallet, ensuring full ownership of your funds while being 100% open-source.
It supports both Lightning and Nostr addresses, enabling seamless connectivity across ecosystems, and integrates effortlessly with dozens of Bitcoin applications. With built-in Lightning Service Provider (LSP) services and the Alby Go mobile app, managing your node on the go has never been easier.
Important: This is NOT a Bitcoin miner or a full node. It’s simply a Raspberry Pi running on an SD card power-efficient and low-cost.
⚠️ Disclaimer ⚠️
- I assume you understand Bitcoin’s fundamental concepts.
- I assume you know how the Lightning Network (LN) works.
Anyway, I’ve included a brief recap of the Lightning Network basics below.
What is the Lightning Network?
The LN is a second-layer solution built on top of Bitcoin to enable fast, cheap, and scalable transactions.
- Why? Bitcoin’s base layer is secure but slow and expensive for small payments due to block size limits and fees.
- How? LN uses off-chain payment channels that allow users to transact instantly without waiting for blockchain confirmations.
Key Concepts
- Payment Channels: Users open a channel by making an on-chain transaction, then send unlimited instant payments within that channel.
- Routing: You don’t need a direct channel with everyone, payments can be routed through multiple connected nodes.
- Low Fees: Only opening/closing channels require on-chain fees; most transactions cost fractions of a cent.
Goal
LN makes Bitcoin usable for everyday transactions, like buying coffee, without waiting 10+ minutes for confirmations.
In short: Lightning Network = Instant + Cheap Bitcoin payments, secured by Bitcoin’s blockchain.
Setting up Alby Hub
Alby Hub is a free, open-source (ideally private) Lightning Network node.
Requirements
Before we begin, you are going to need the following things:
- A windows or mac or linux computer
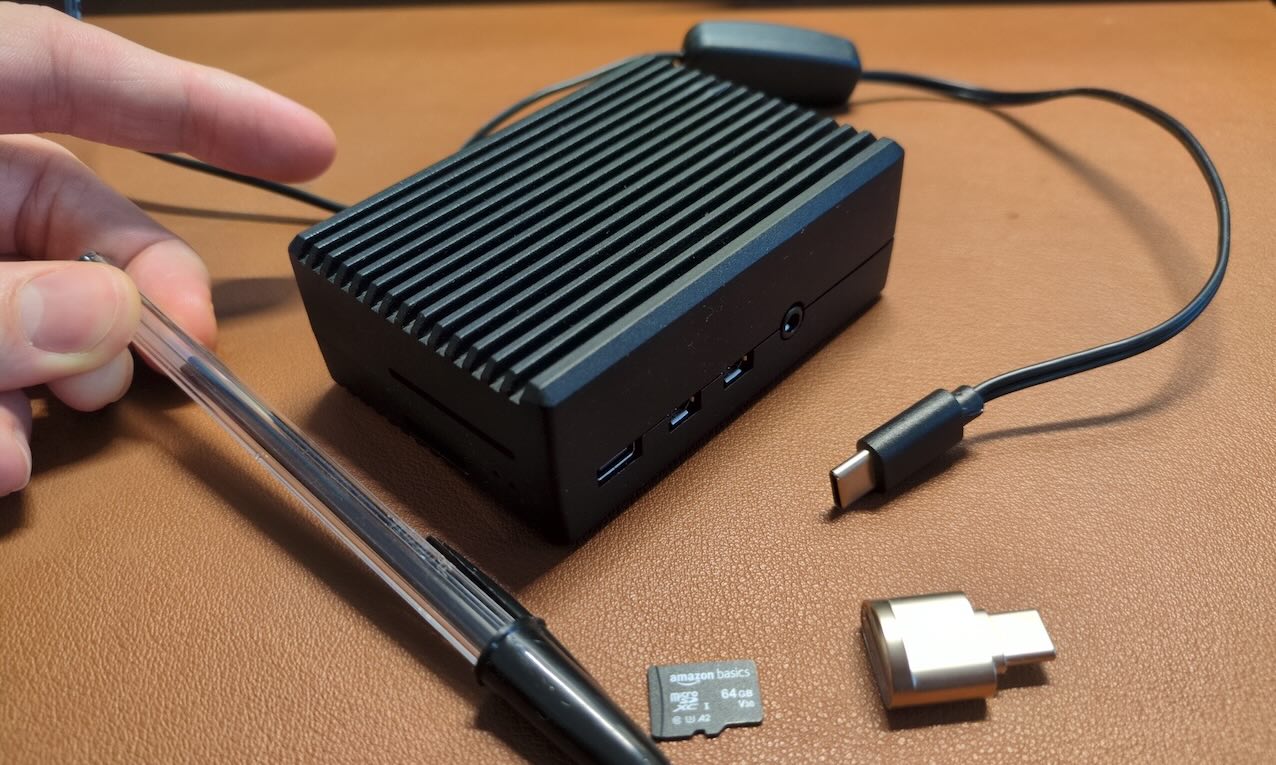
- Raspberry Pi 4 or 5 (For Zero 2W see this tutorial!)
- In this tutorial, I am using a raspi-4b (~60€)
- The charger for your raspi (~10€)
- SD memory card (32/64gb) (~10€)
- Adapter SD card to USB (to flash the OS into the raspi) (~10€)
Installation Steps
1. Flash a Linux kernel into the SD card
Suggestion: You can use RPI imager on your computer. Use it to flash the recommended raspi OS for you
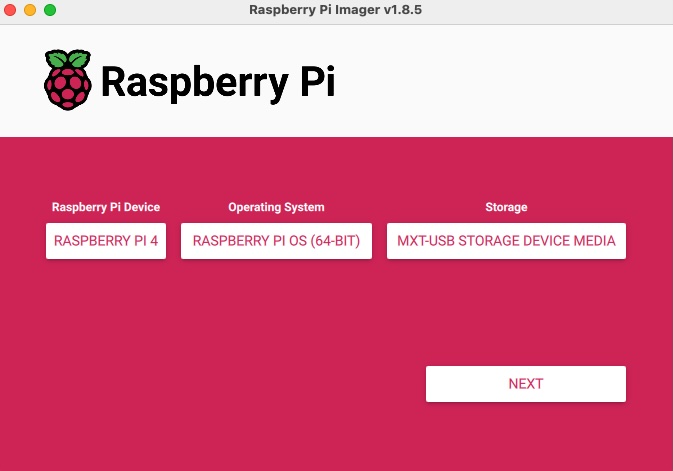
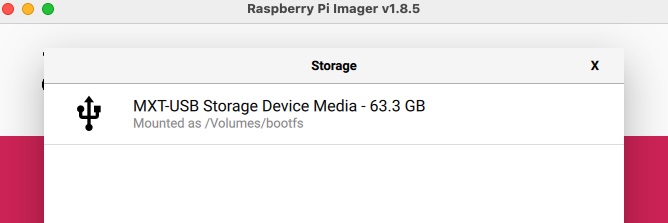
On the Storage you will see your SD card after inserting it into your laptop.
Once you click “Next”, you will see different settings. Click to Edit Settings
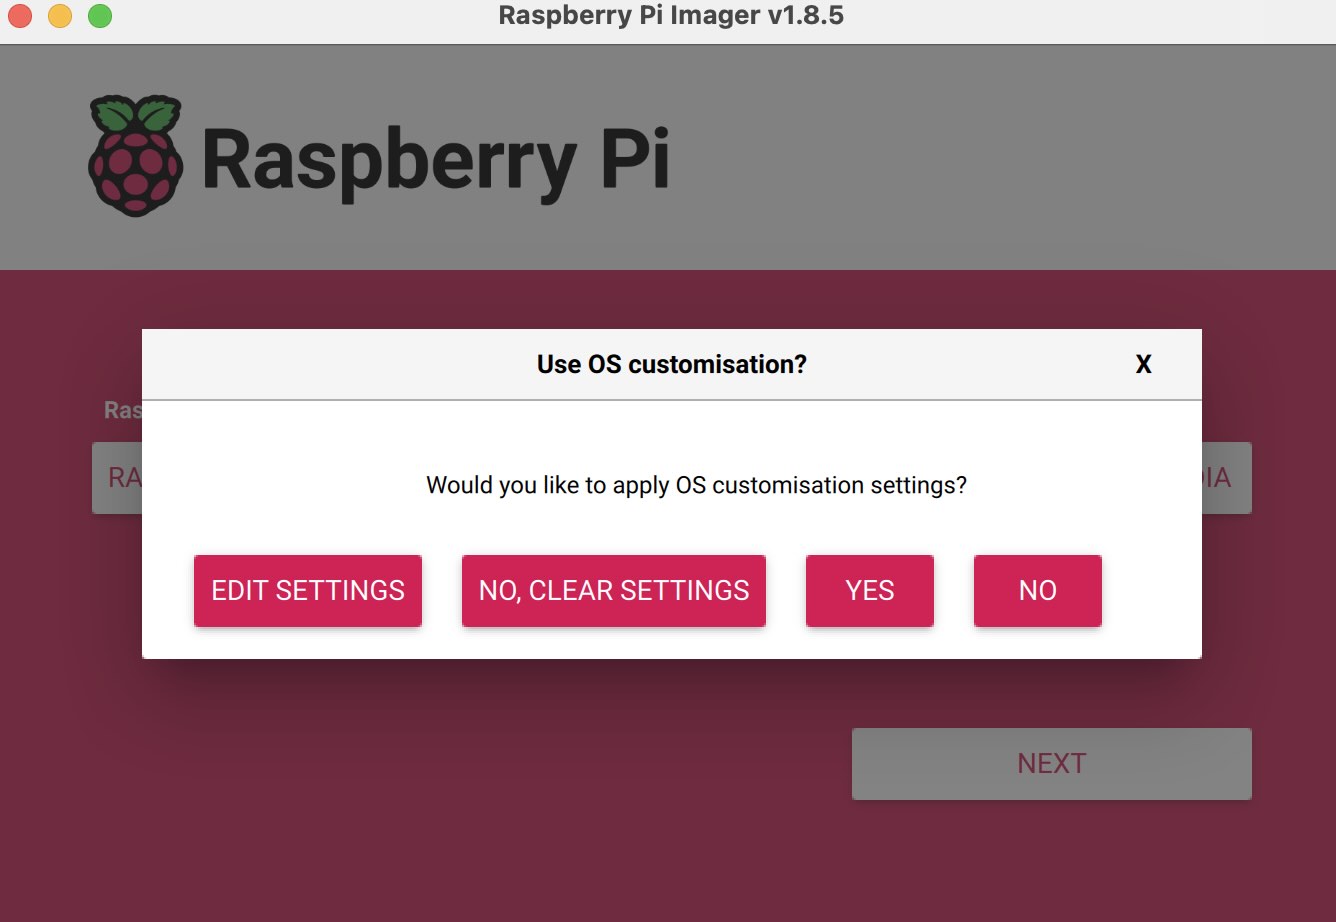
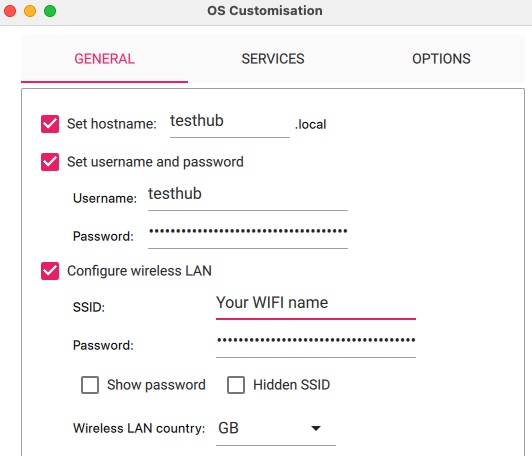
On Settings > General: set your hostname, the username and password for your admin user.
Make sure you enable your WIFI, otherwise you will have to plug it to the router with an RJ-45.
For this tutorial, I am using
testhubas hostname, you can usealbyhubor whatever you prefer.
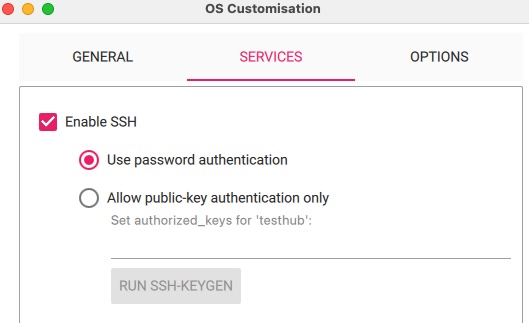
On Settings > Services: make sure the access via SSH is enabled. We are going to need it to install Alby Hub.
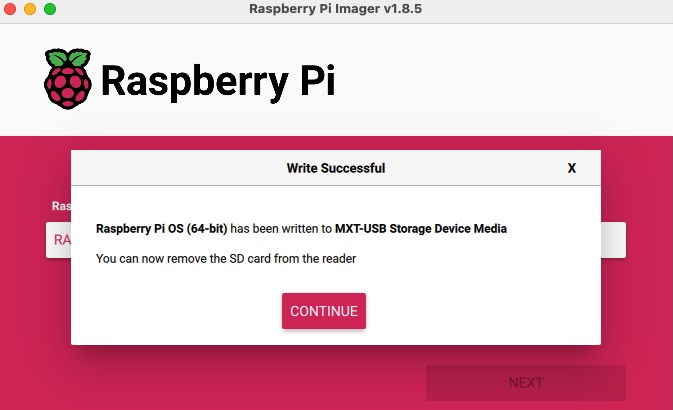
Click “Save” and click “Yes” to start the installation.
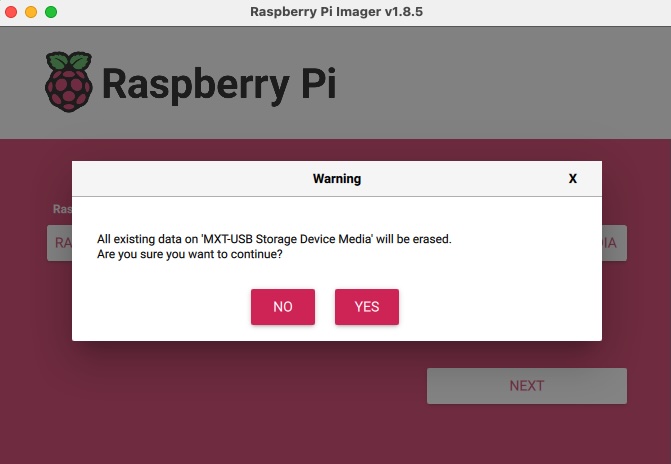
You will see a confirmation. Click “Yes”. It will take ~10 mins…
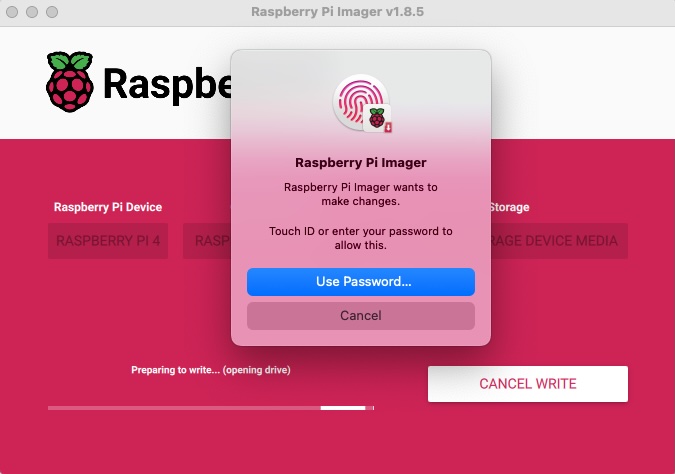
Now we got the SD with a fresh linux kernel ready to use!
2. Insert the SD into the raspi
Extract the SD from the laptop and insert it in the raspi first.

Once the SD is inserted, then plug in the power cable. It will turn on automatically as soon as you plug it in.

3. Alby Hub installation
It will take ~5mins since you turned it on to be able to access to it. How can you make sure it’s alive? Open the terminal and ping the hostname you defined while flashing the SD on Settings > General, remember it ended up with .local:
ping testhub.localIt’s normal if you don’t get any answer at the beginning… until you do get this.

Now you can install Alby Hub in your raspi using the SSH connection that you enabled earlier:
# Source code: https://github.com/getAlby/hub/tree/master/scripts/pi-aarch64
ssh testhub@testhub.local '/bin/bash -c "$(curl -fsSL https://getalby.com/install/hub/pi-aarch64-install.sh)"'
You will be asked to type the word “yes”; type it.

Then, you will be asked to enter your password. Enter the password you chose in Settings > General for the username.
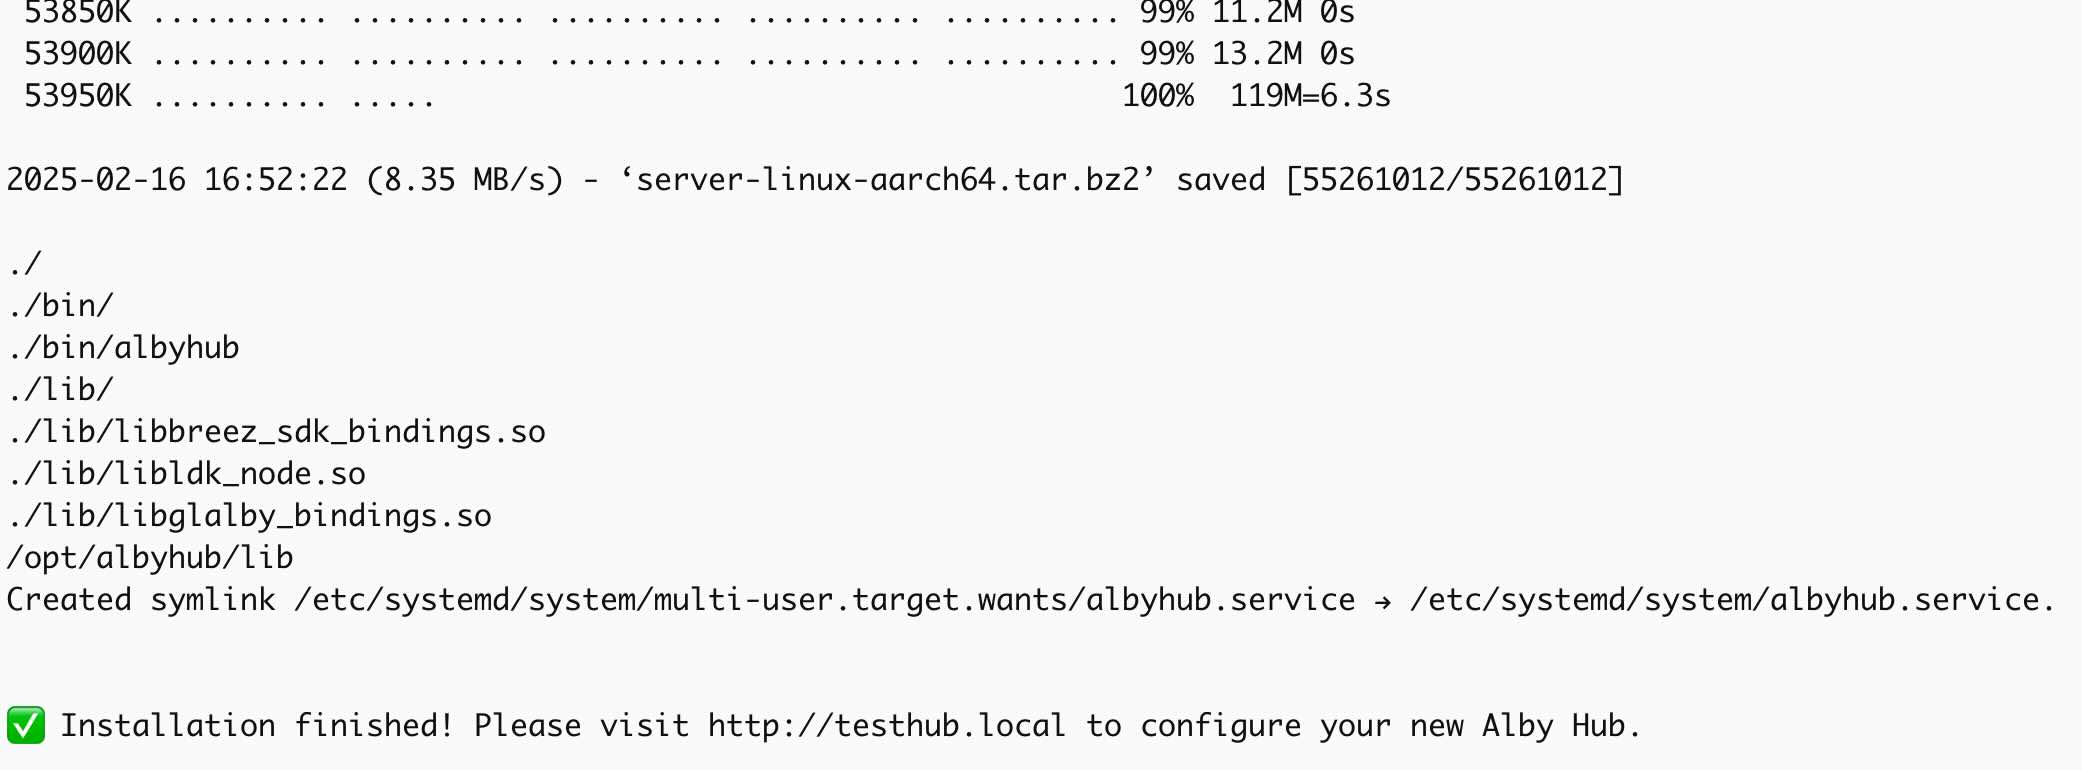
4. Alby Hub Setup
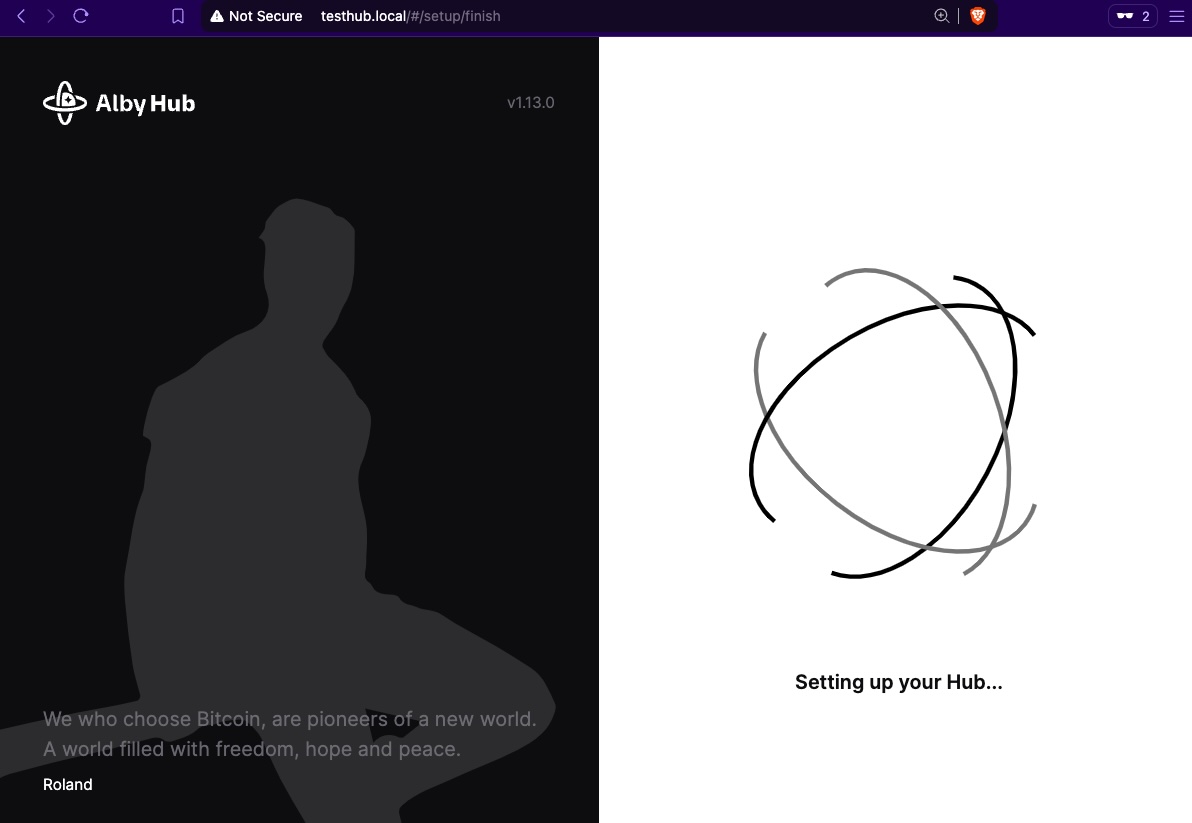
Wait another 2-3 mins and visit your host: http://testhub.local/
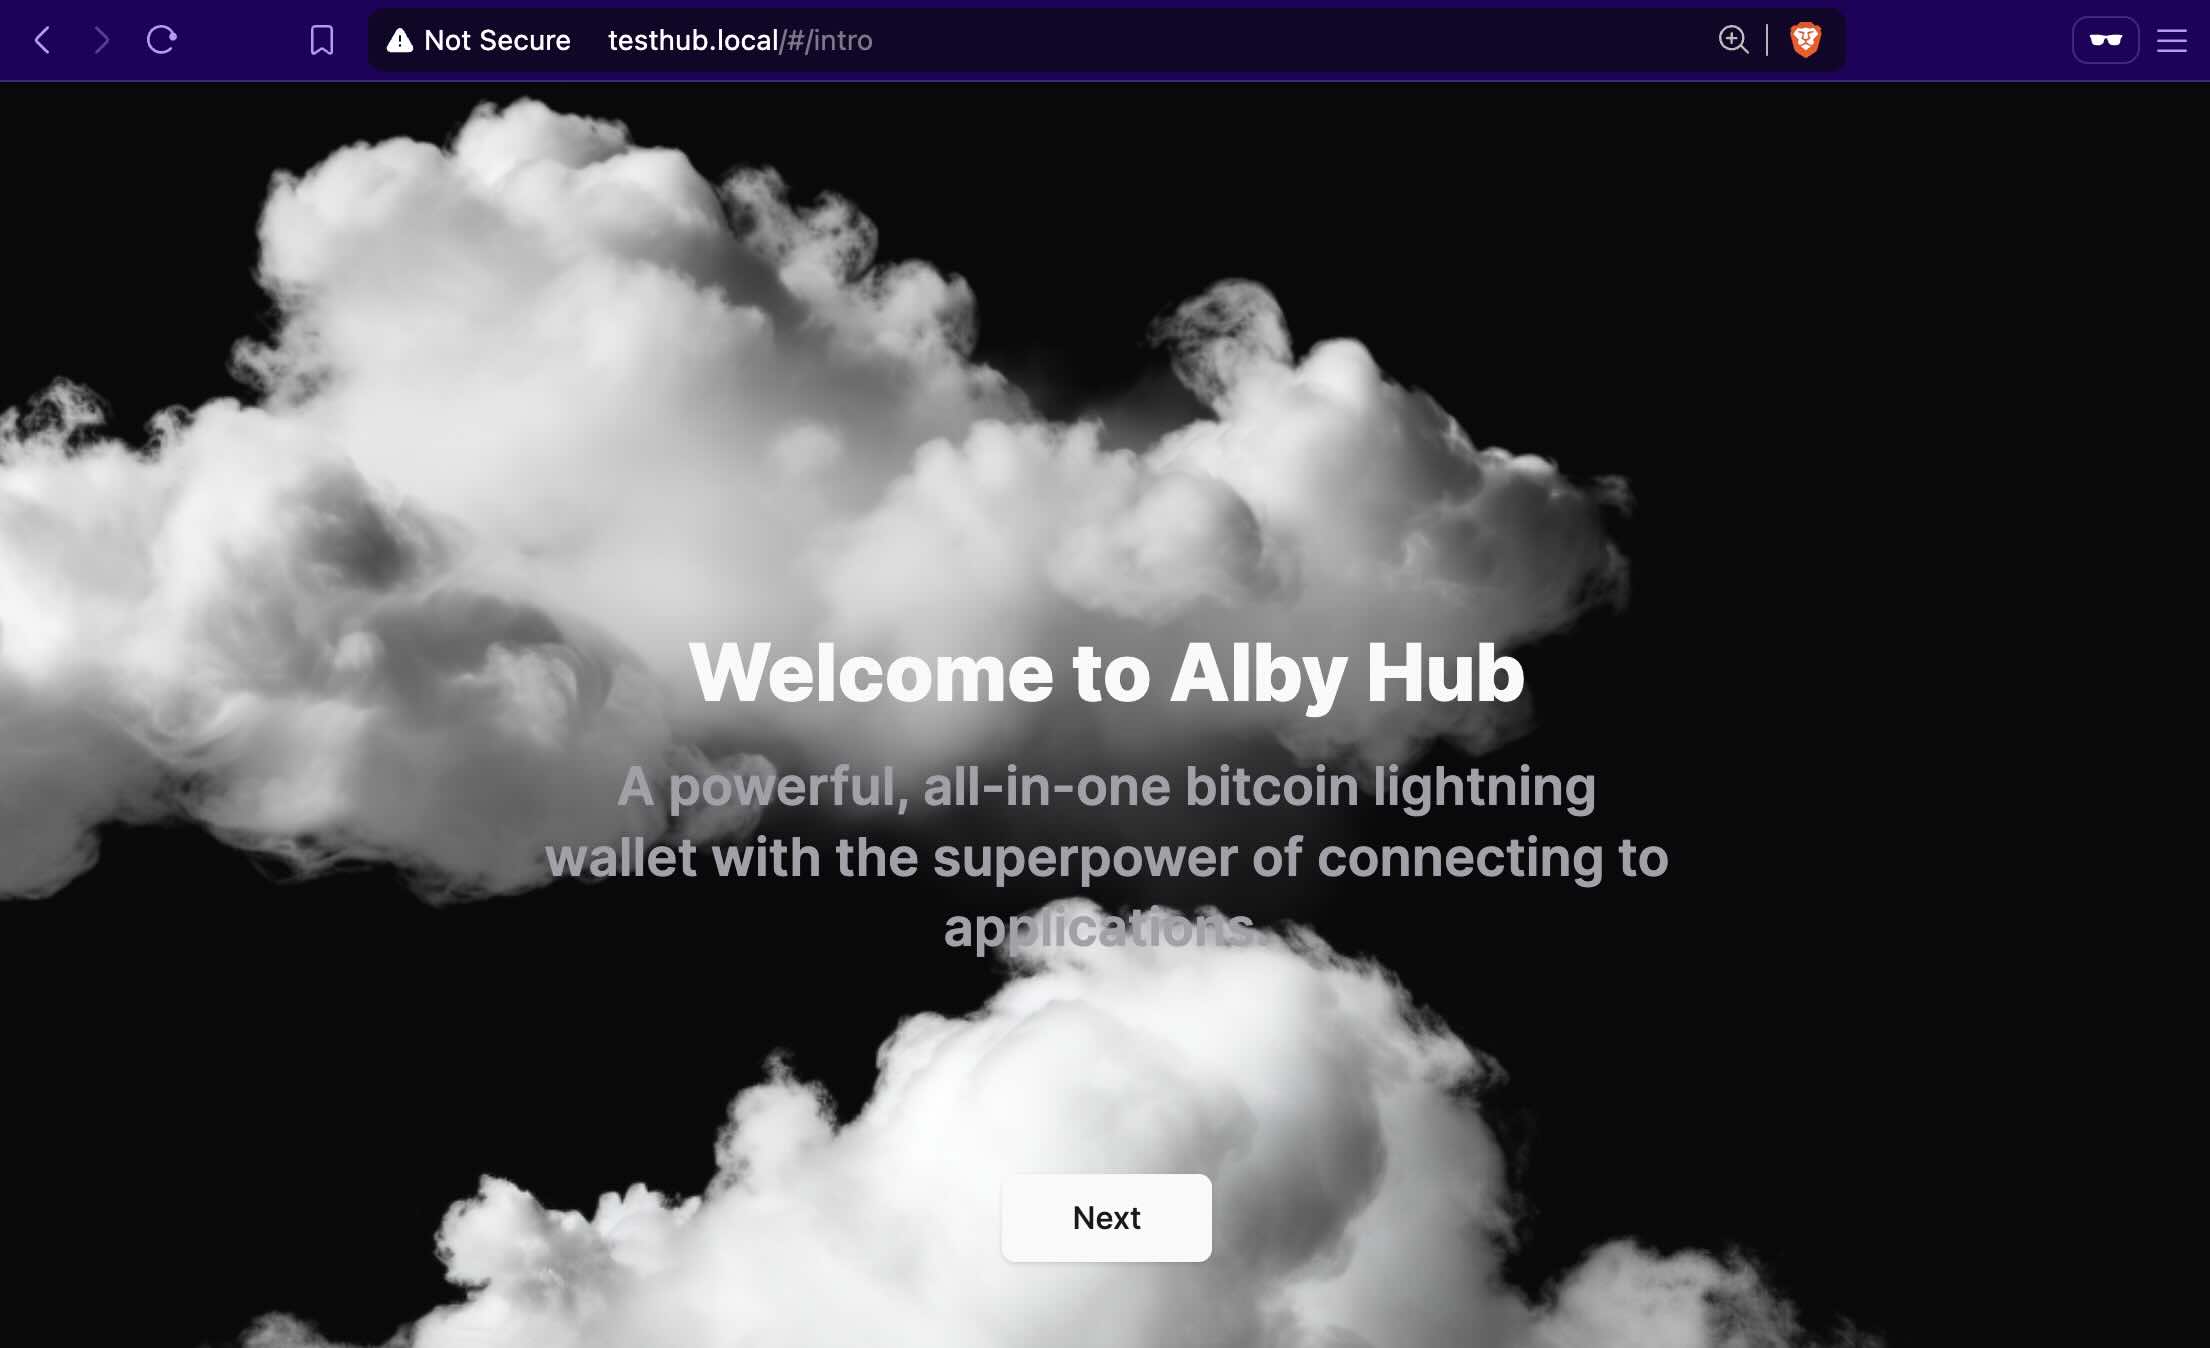
Your Alby hub is now running. Let’s connect it to your GetAlby account!
Creating a GetAlby Account
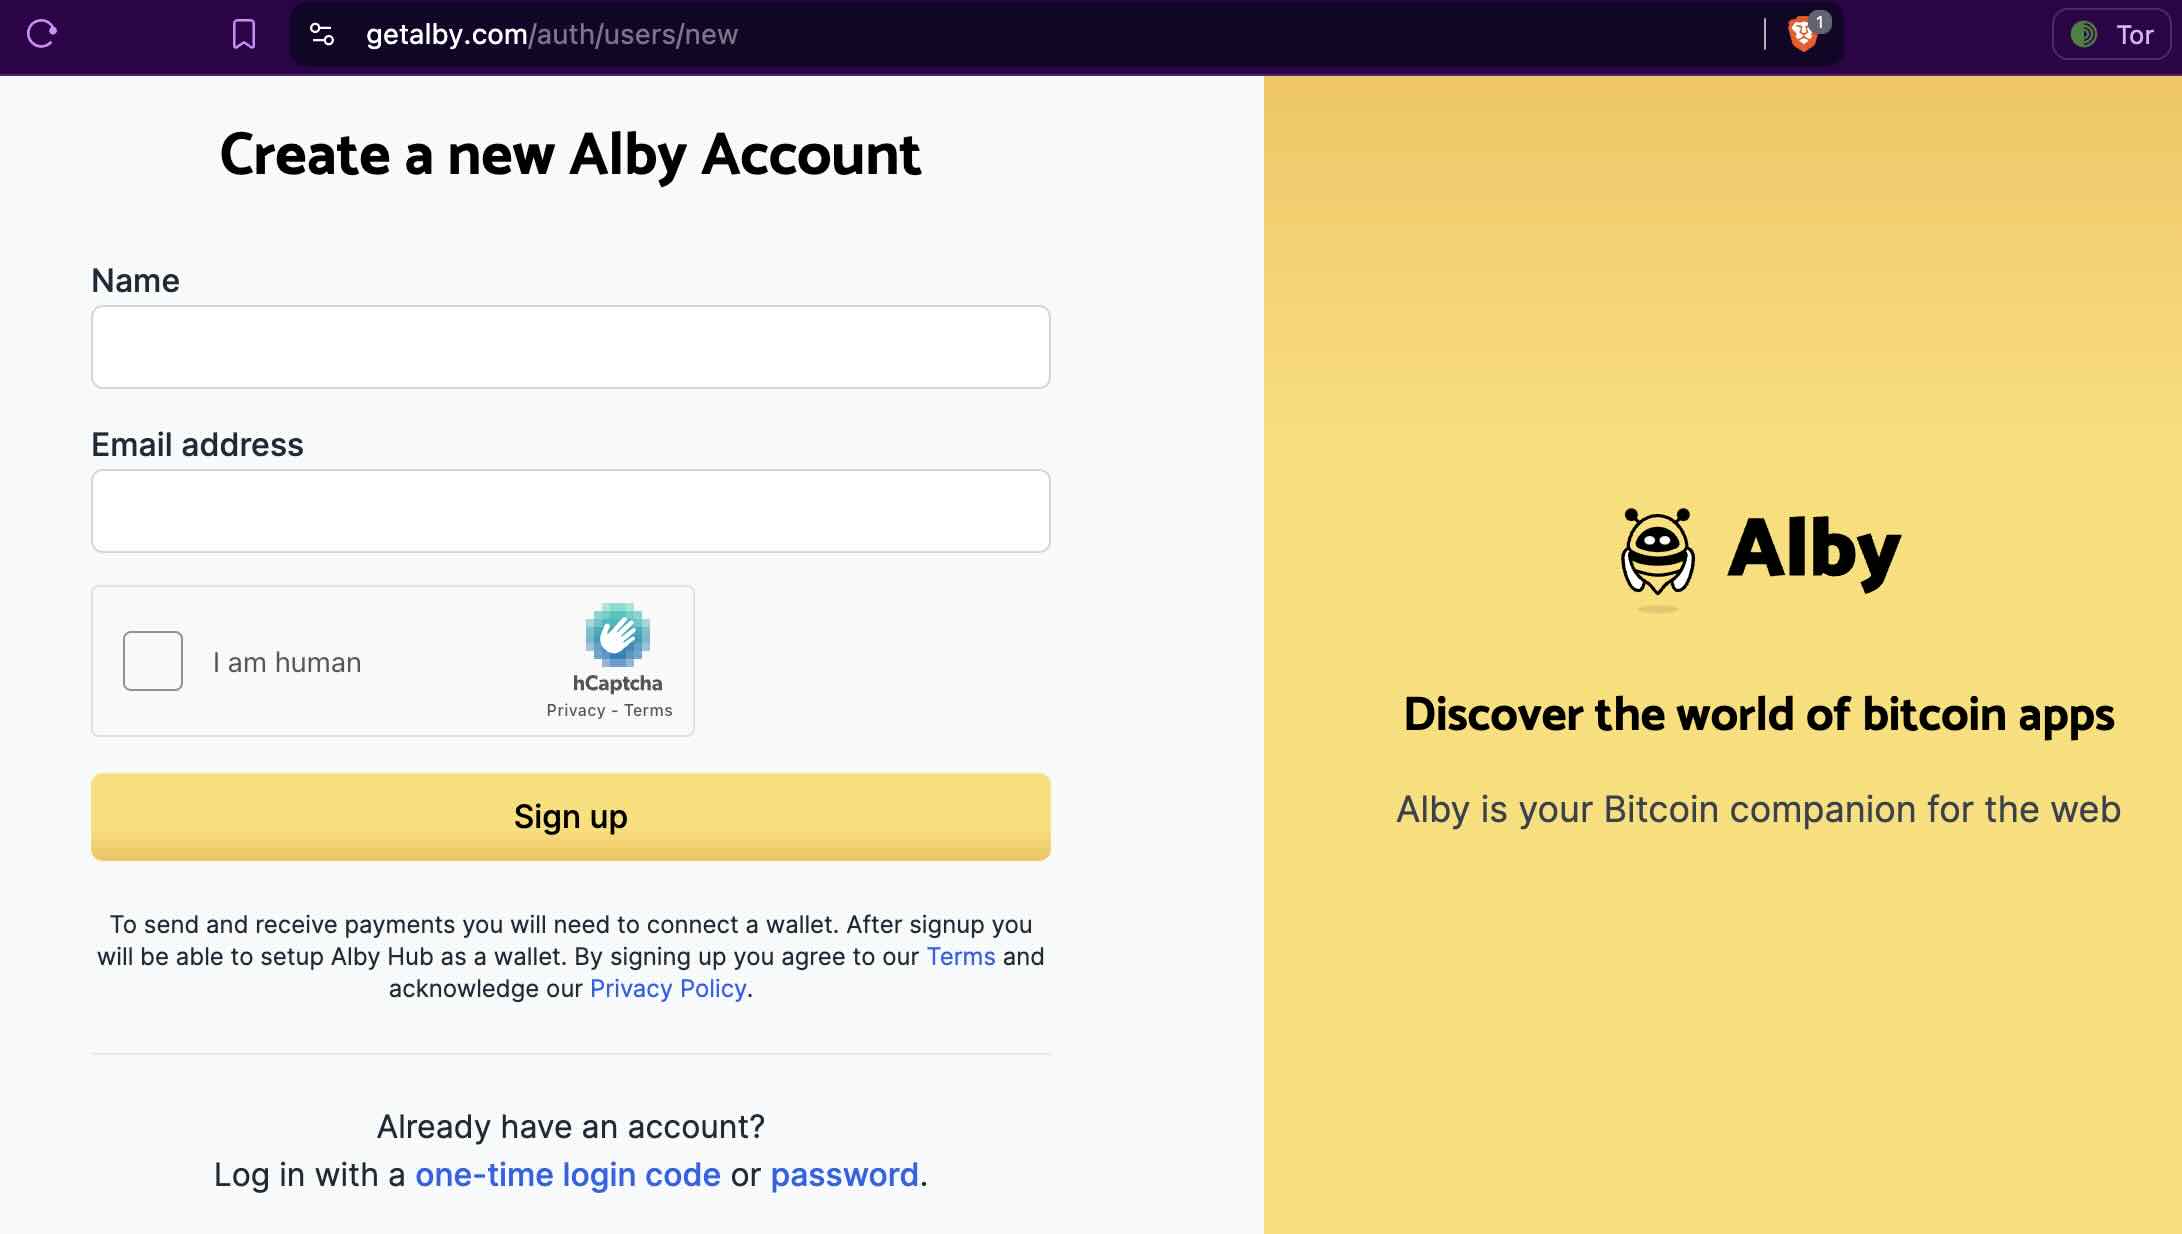
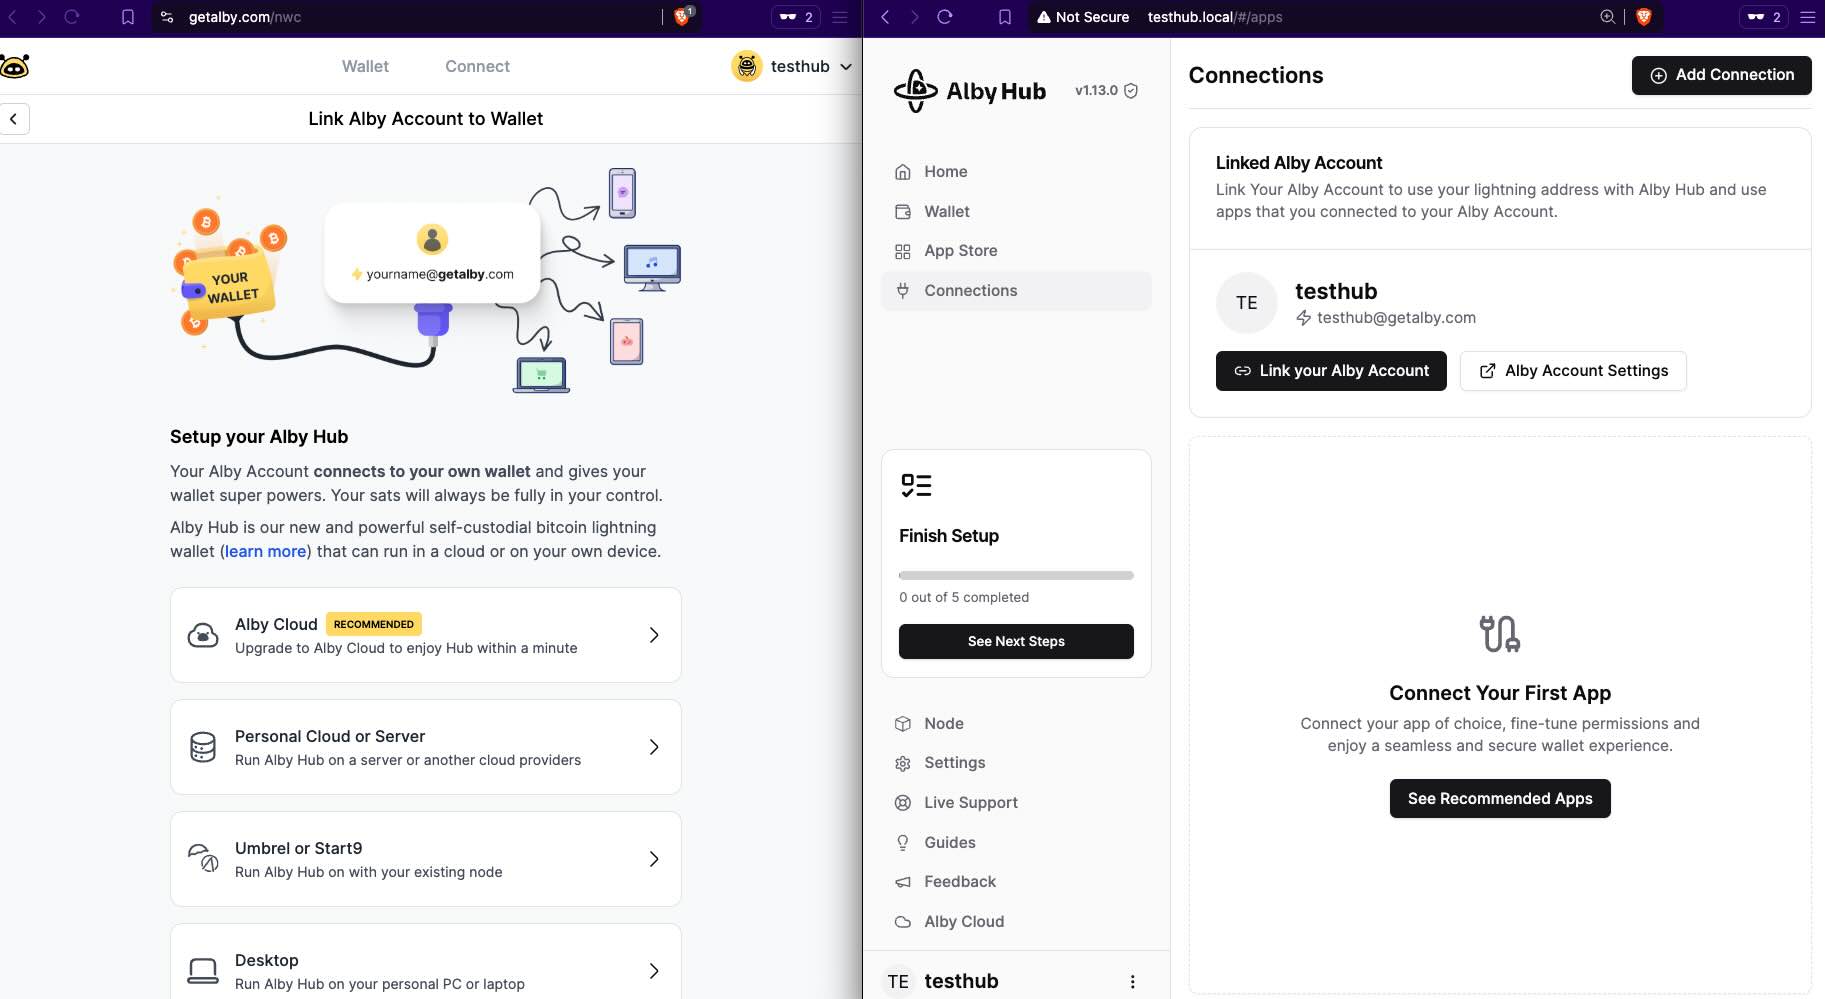
Connecting GetAlby with Alby Hub
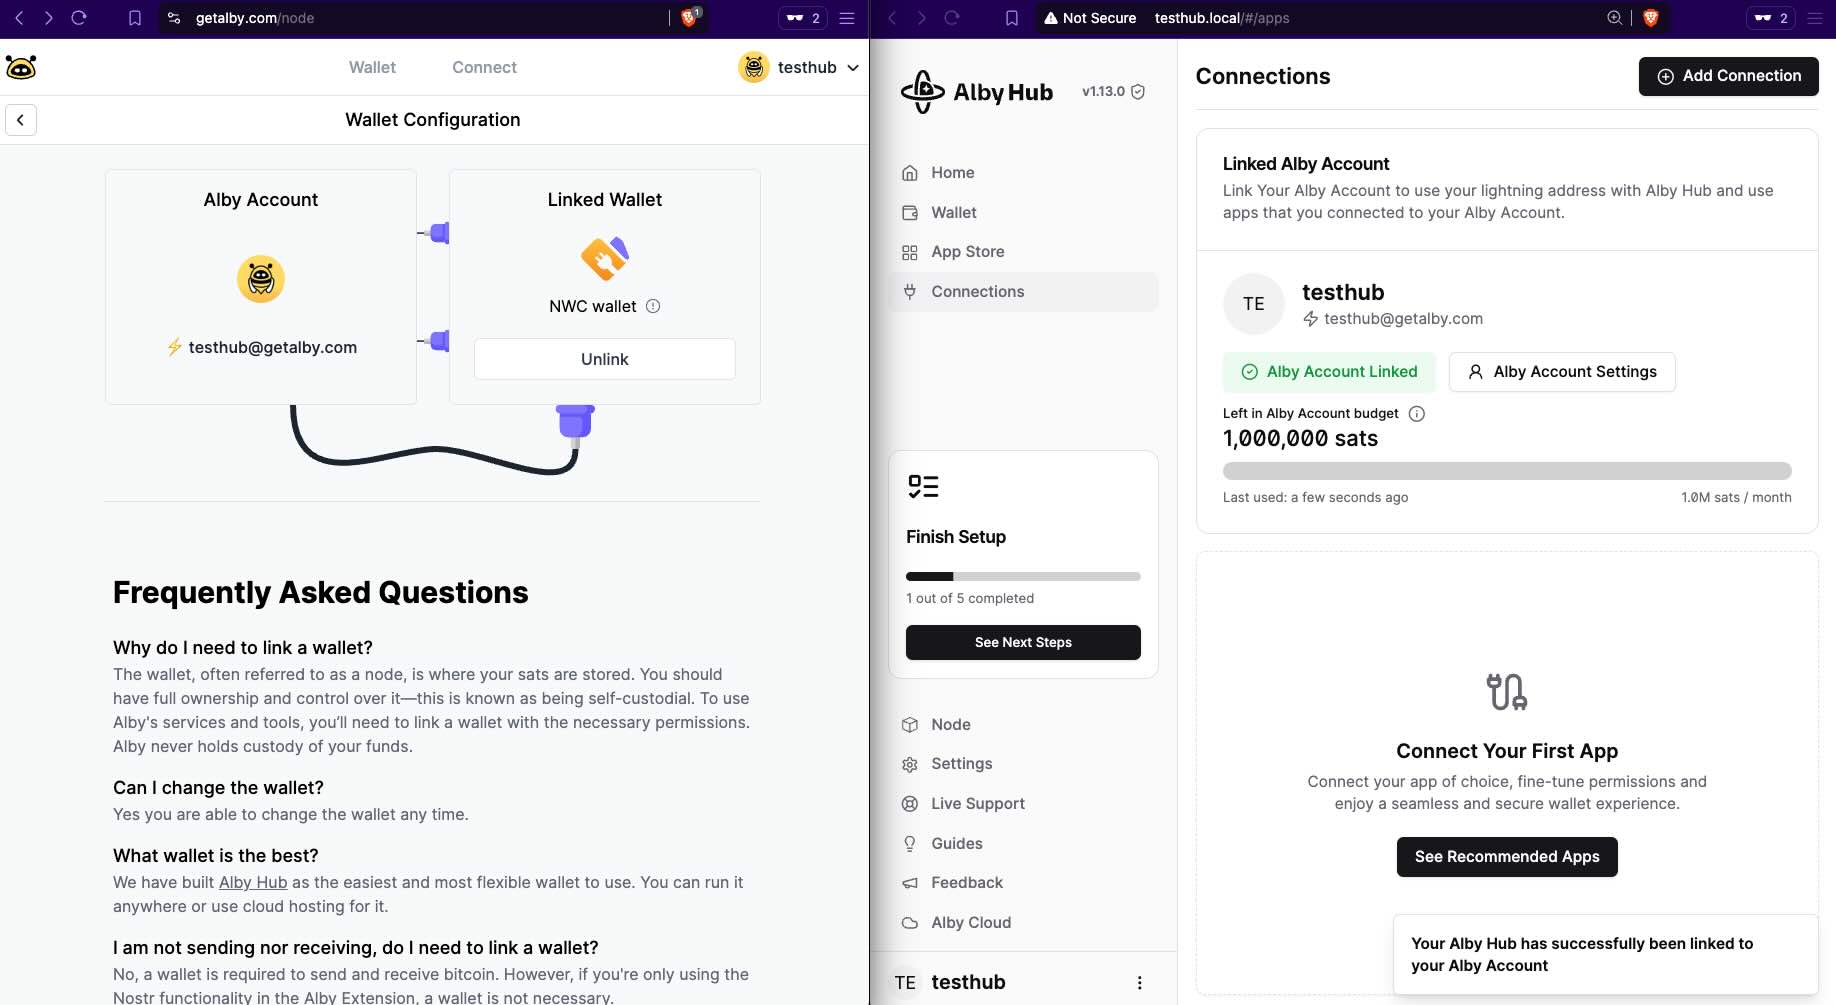
I created an account named testhub.
Left: the GetAlby account. Right: the node in the raspi.
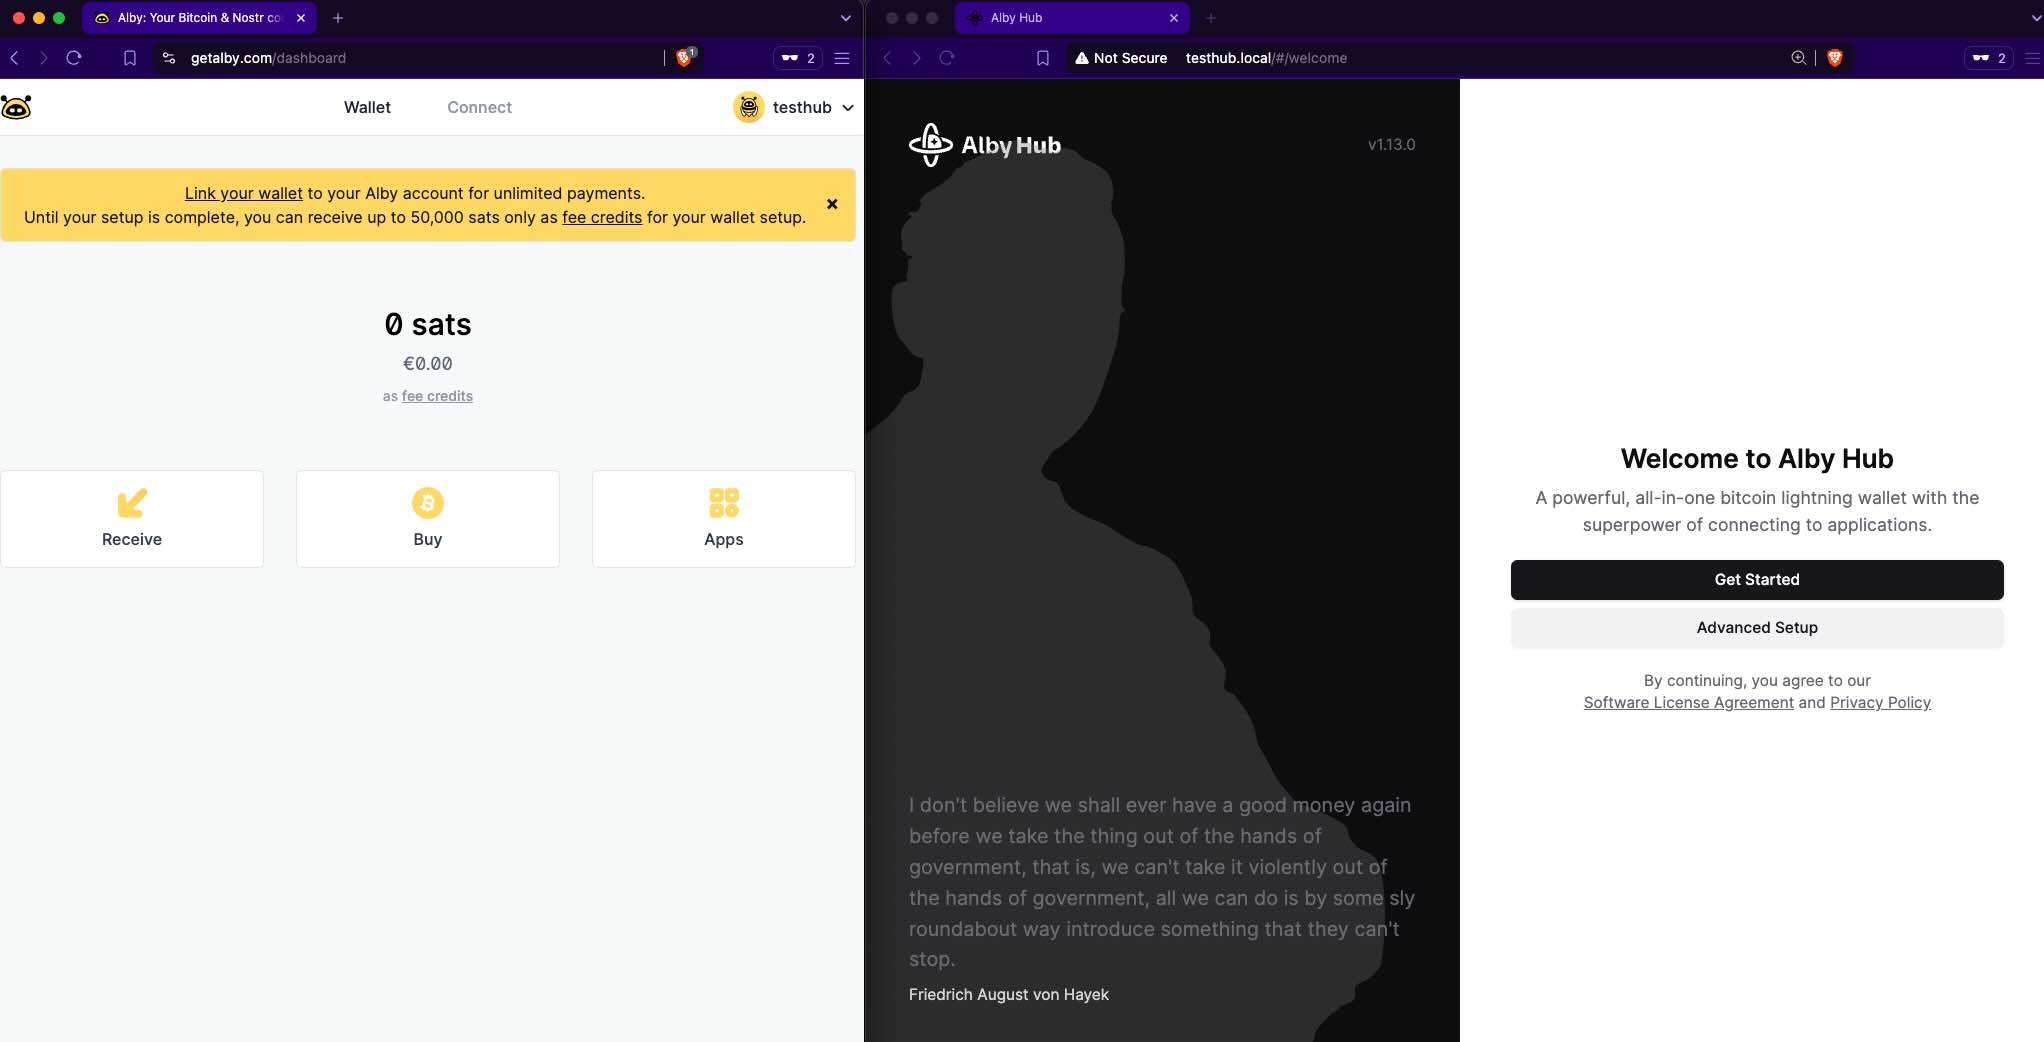
Click “Connect Now”.
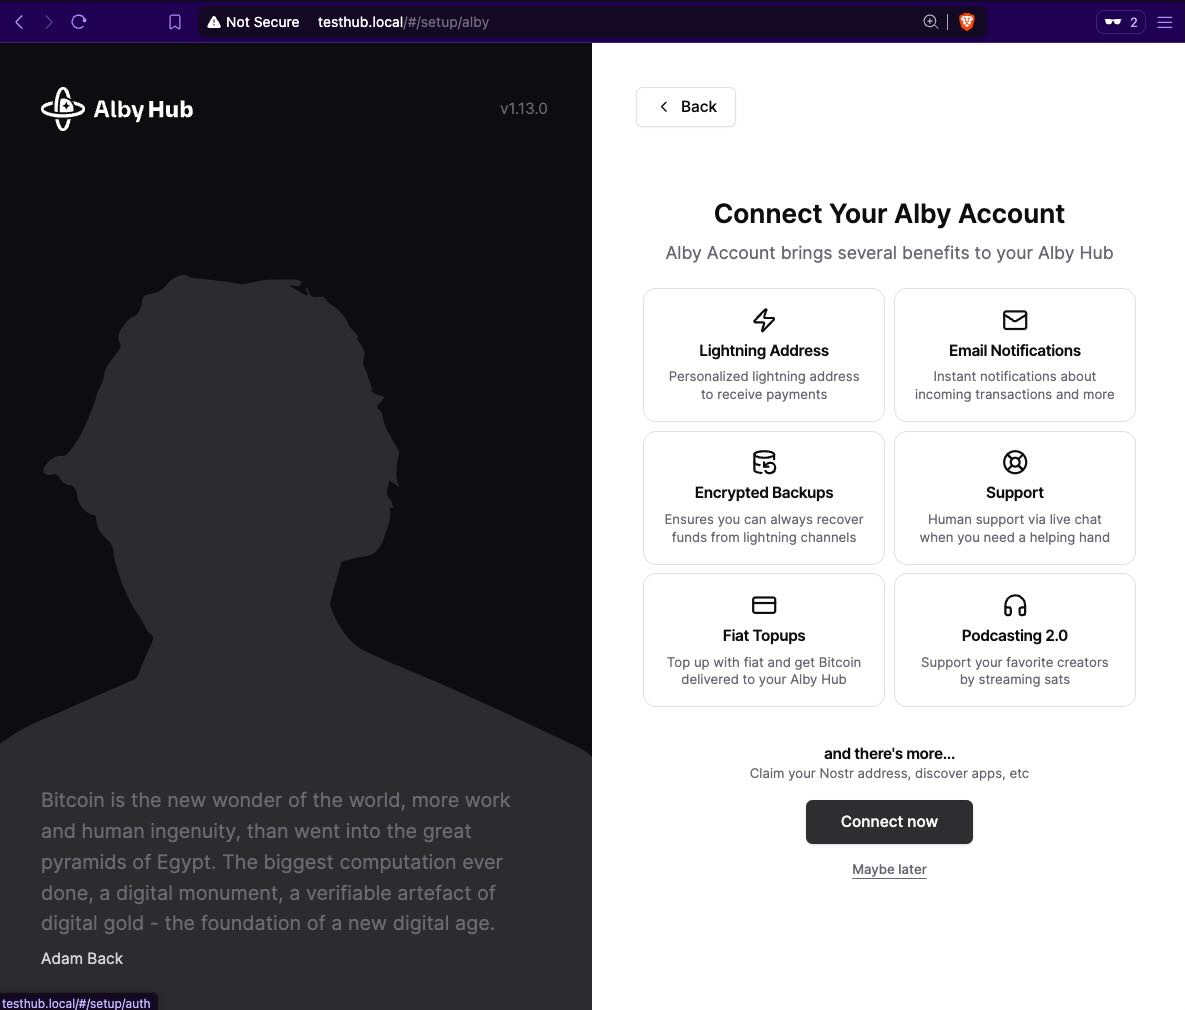
Click “Request Authorization Code”.
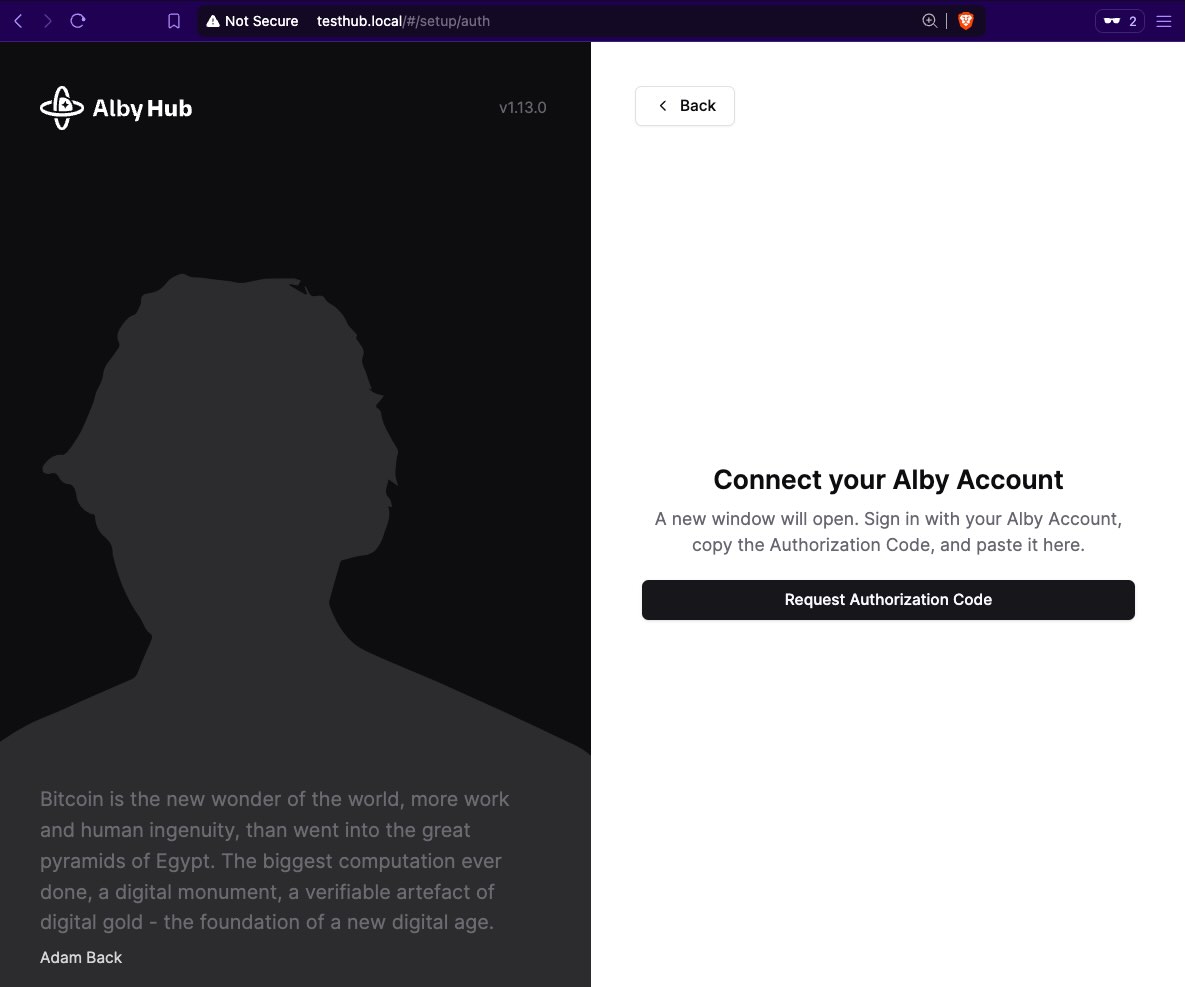
You get the auth code (left) that you need to insert it into your setup (right).
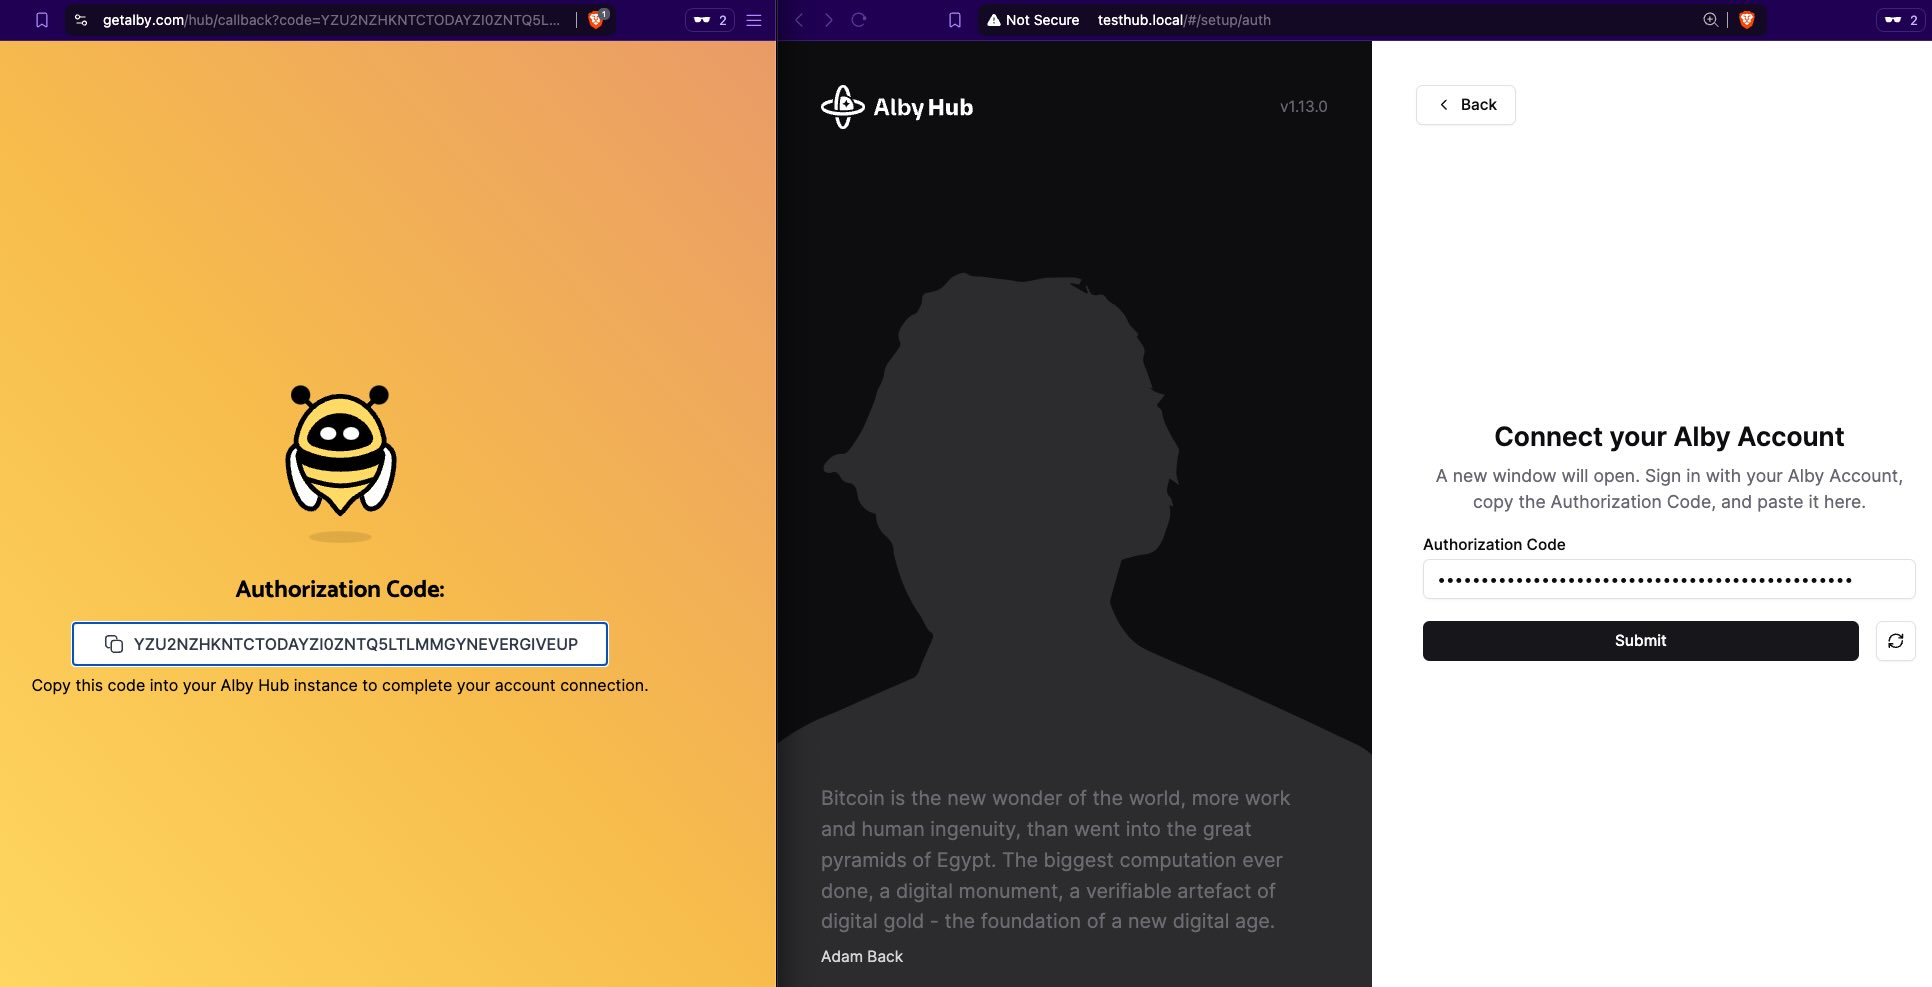
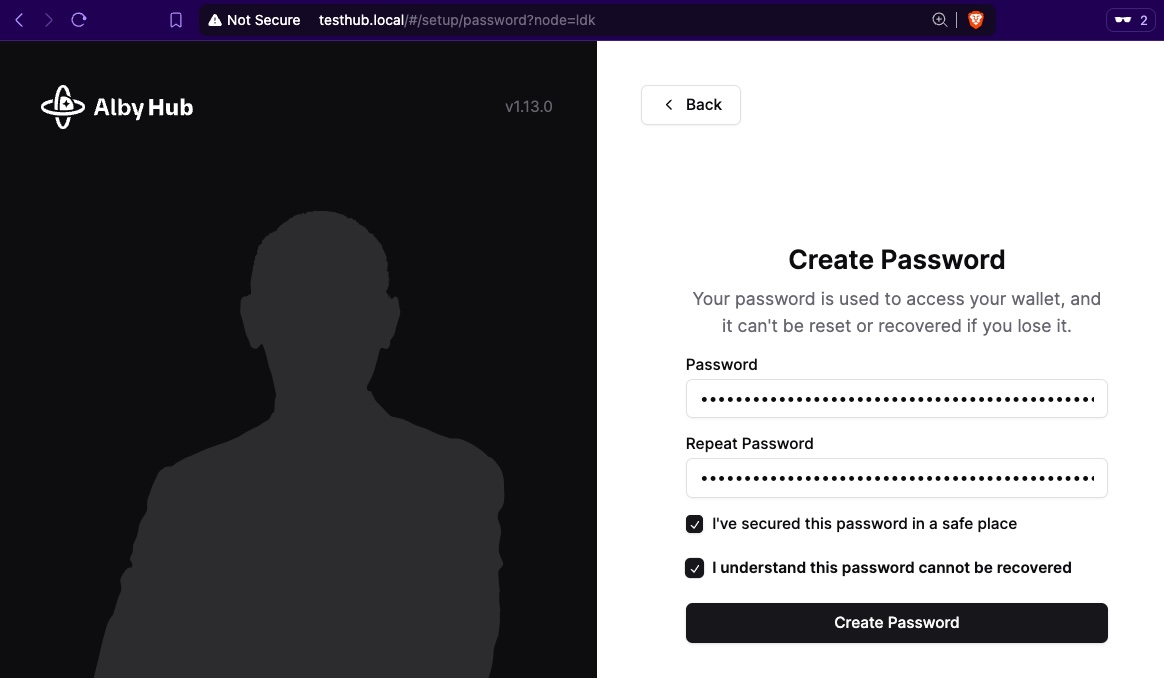
Create a Password for your Alby Hub installed in your raspi. It can be different from the password that you set up for your root user in the rapi itself.
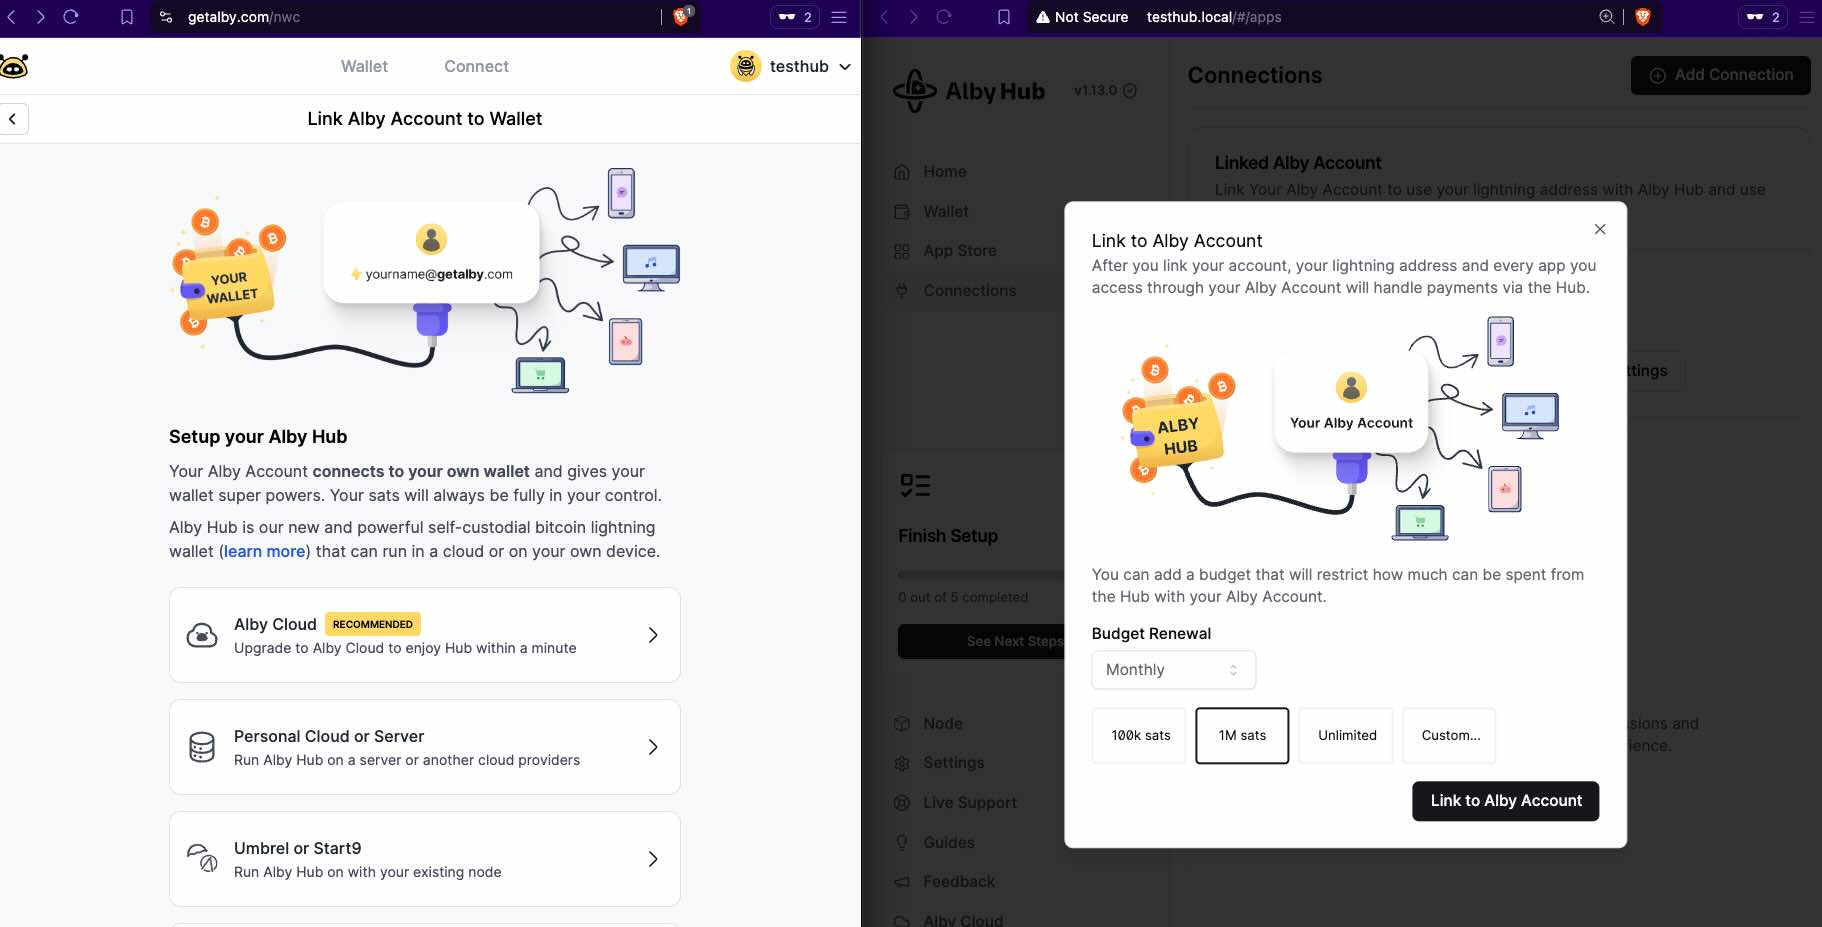
Now it’s time to Link your Alby Account
Unless you specify otherwise, set the default “Budget renewal: Monthly 1M sats”.
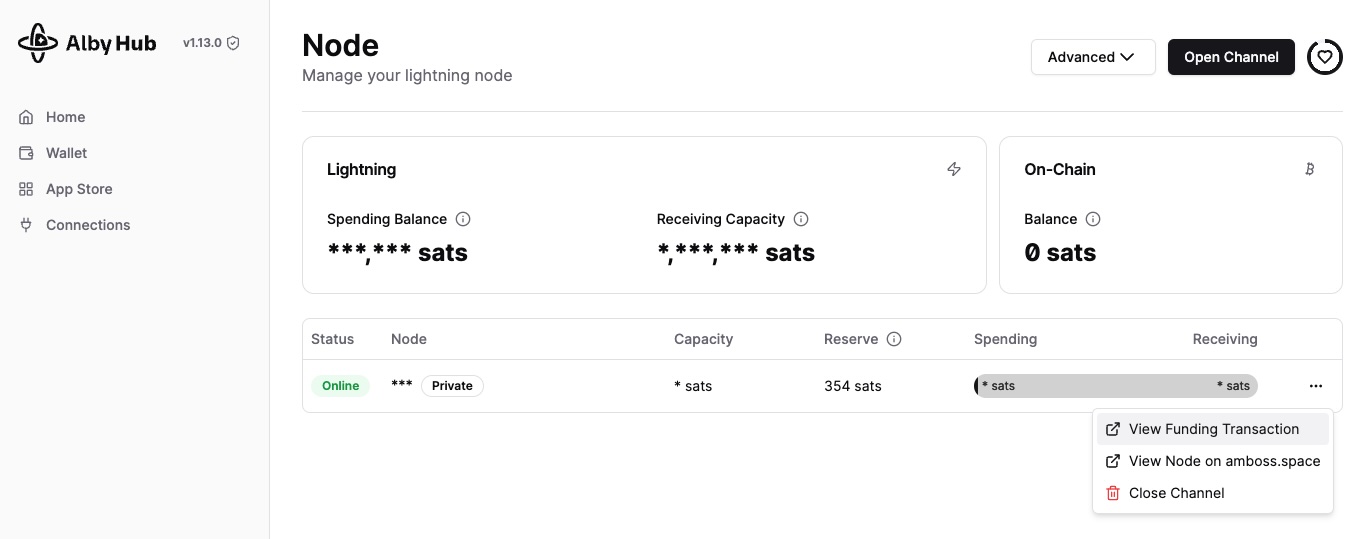
Opening Lightning Channels
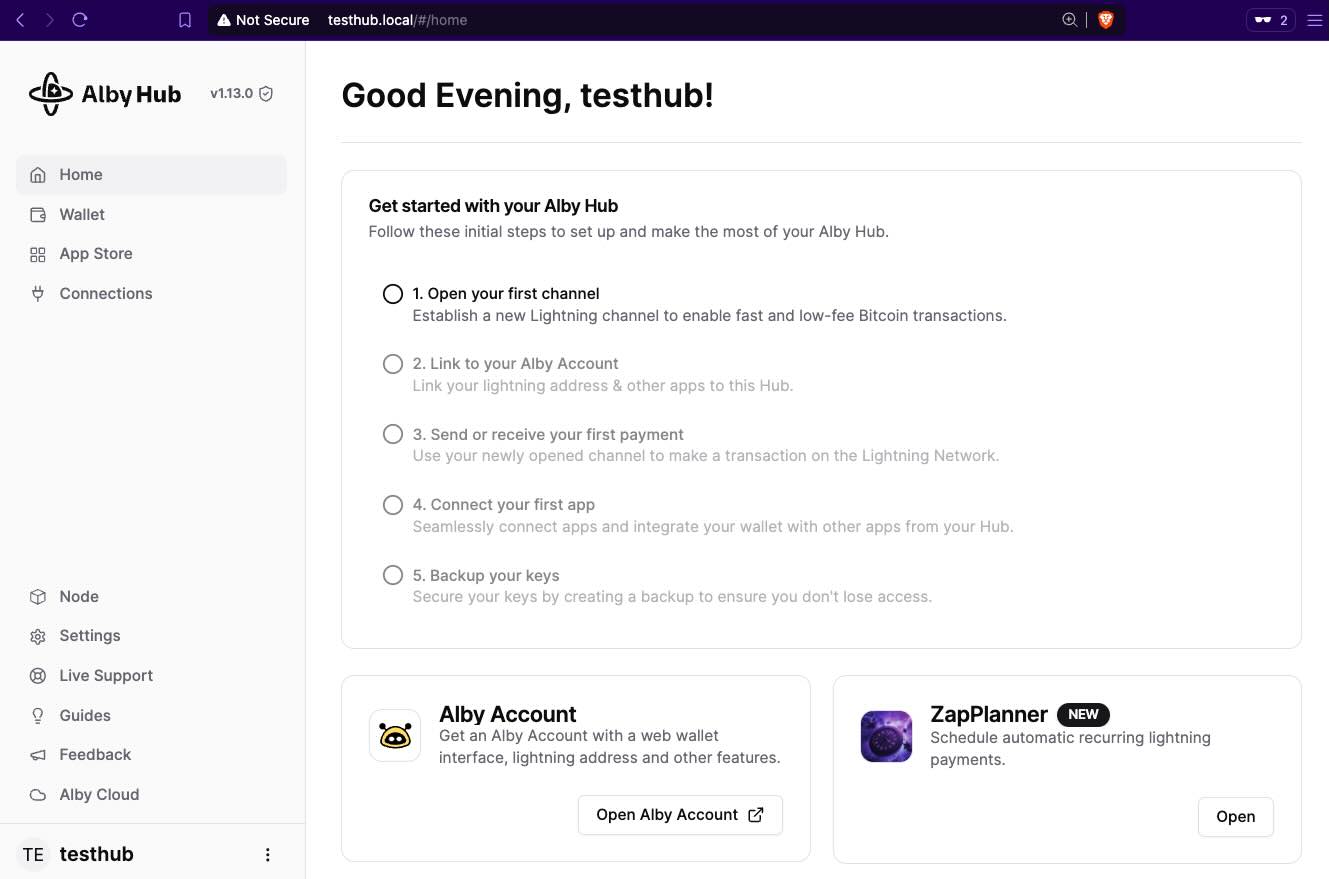
I recommend following the Initial Steps to set up your Alby Hub.
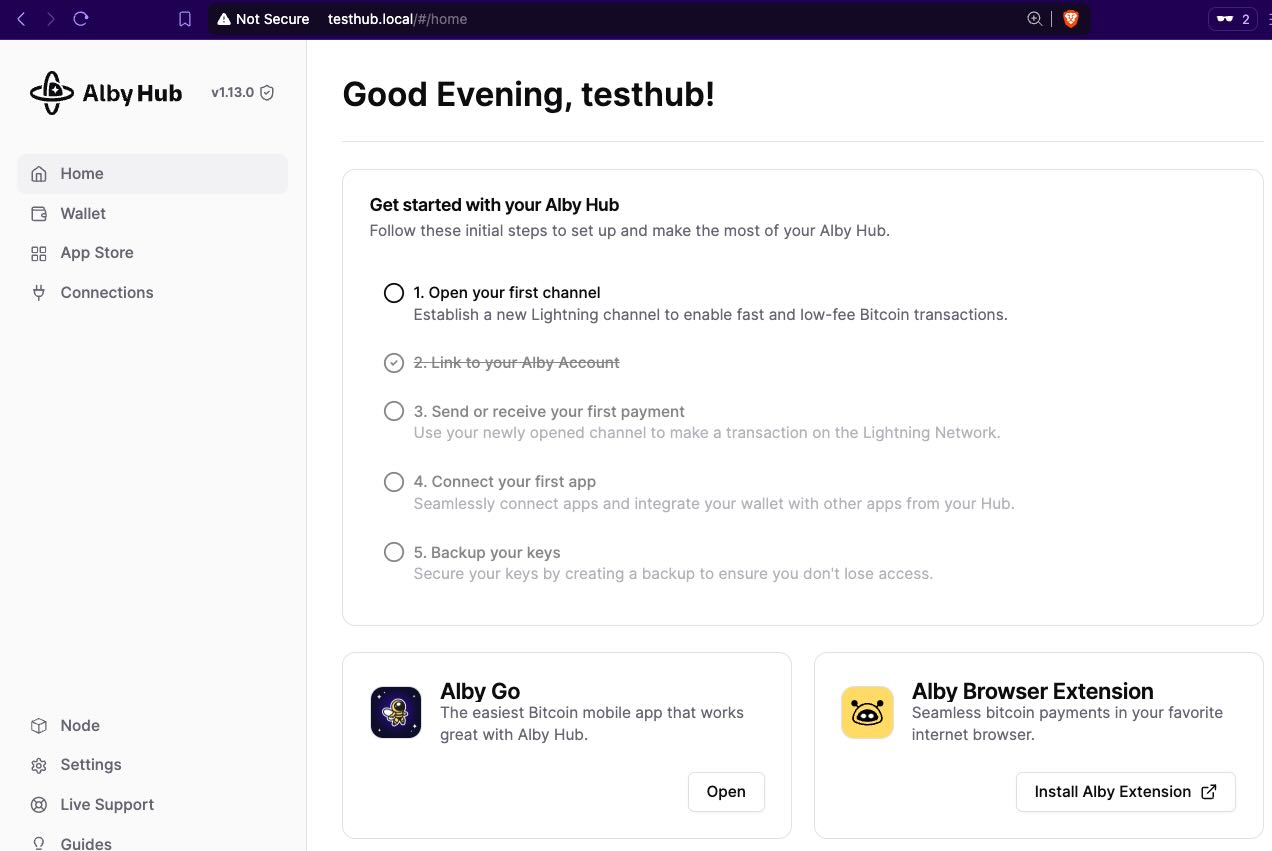
Let’s open the first channel.
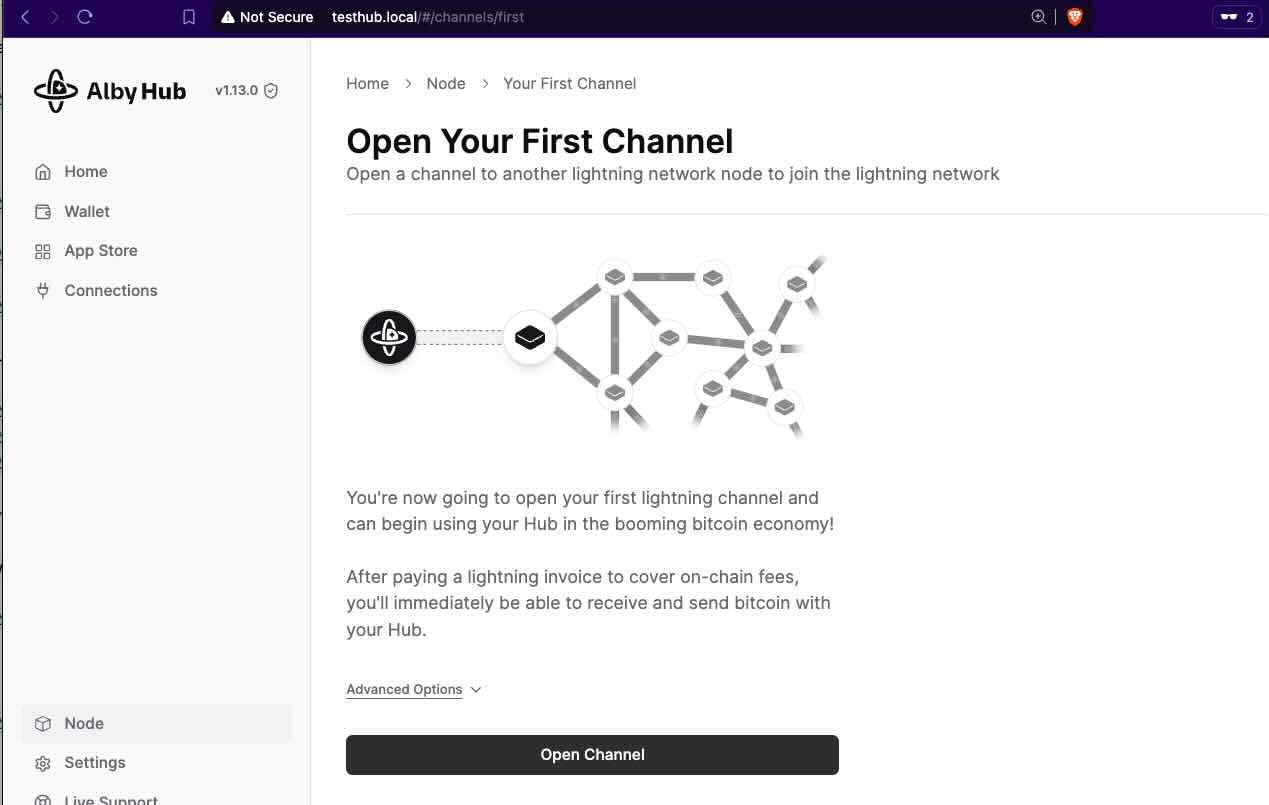
You need to pay ~$20 in sats to open a 1M sats incoming liquidity channel.

After the payment, then you will see the channel open. It might take a couple of mins until the funding transaction is mined in the next block.
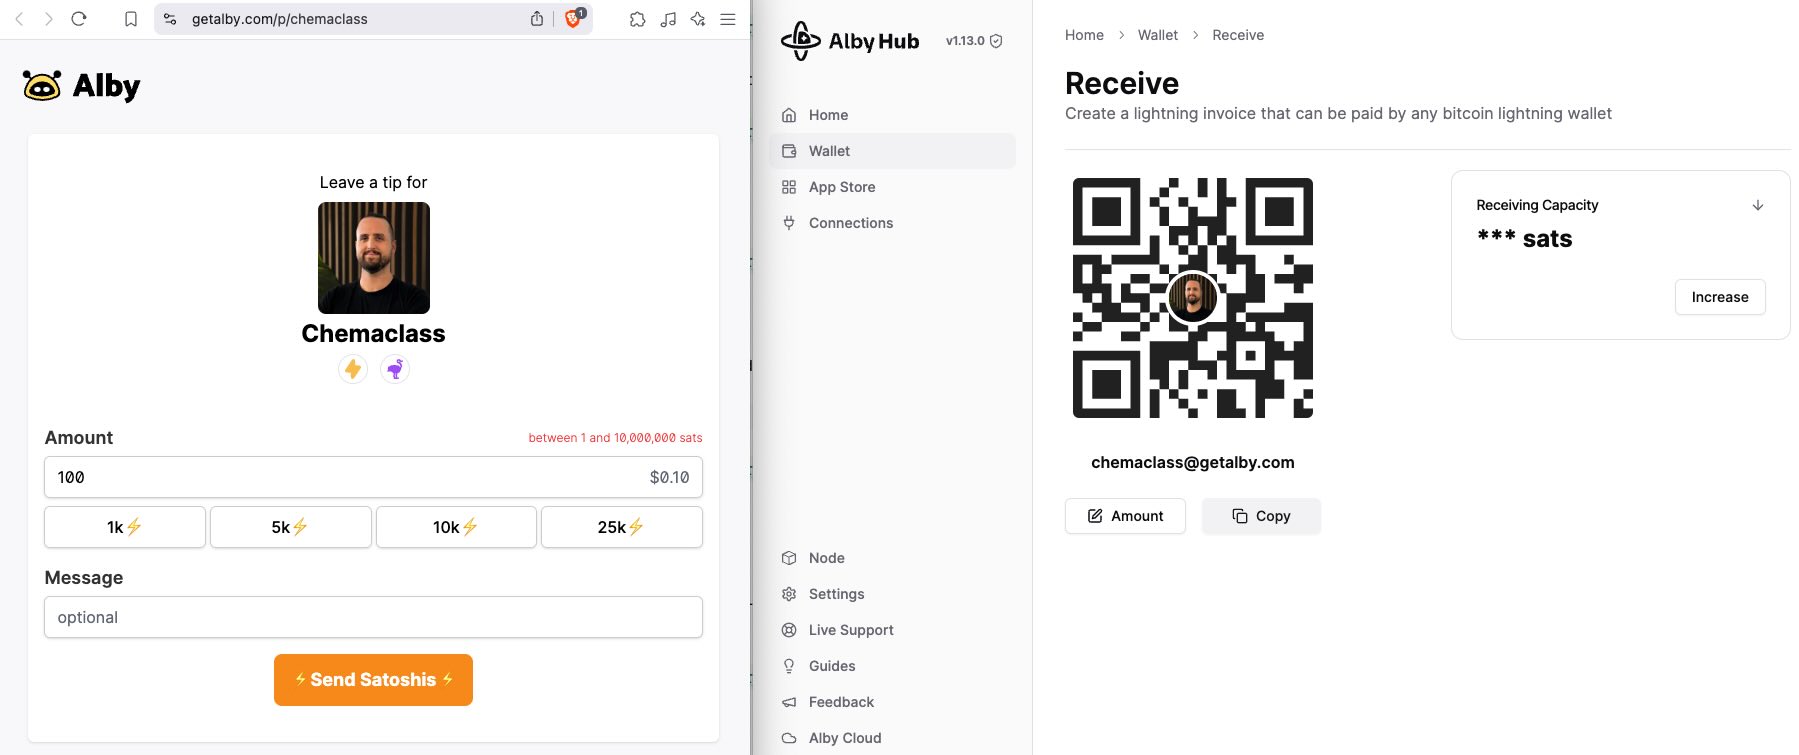
Receiving Sats
You can receive sats using your LN Address.
Left: Public page linked to your node. Right: Private page from your Alby Hub.
Optional: You can add ln funds to your wallet using GetAlby’s third-party services: getalby.com/topup - mind the KYC…
Using Your Sats
After that, you will be able to use it via the Alby Extension or the AlbyGo.
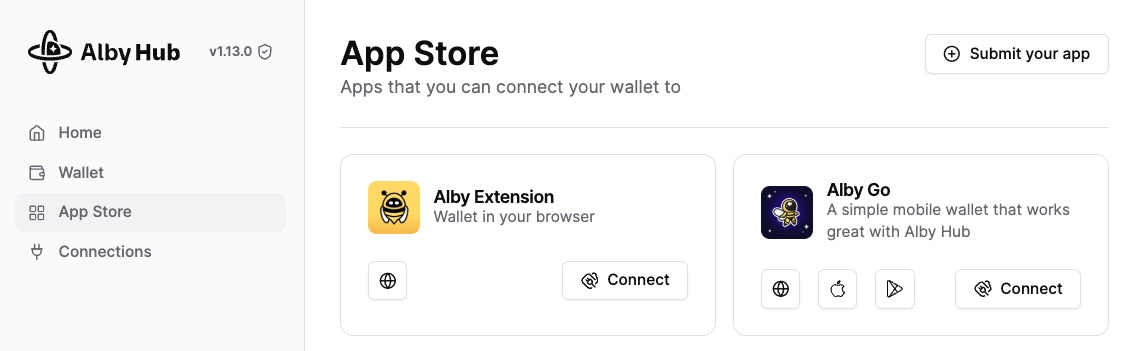
Your node is the ultimate source of truth. Connecting these apps to it will allow you to use your sats seamlessly across different platforms.
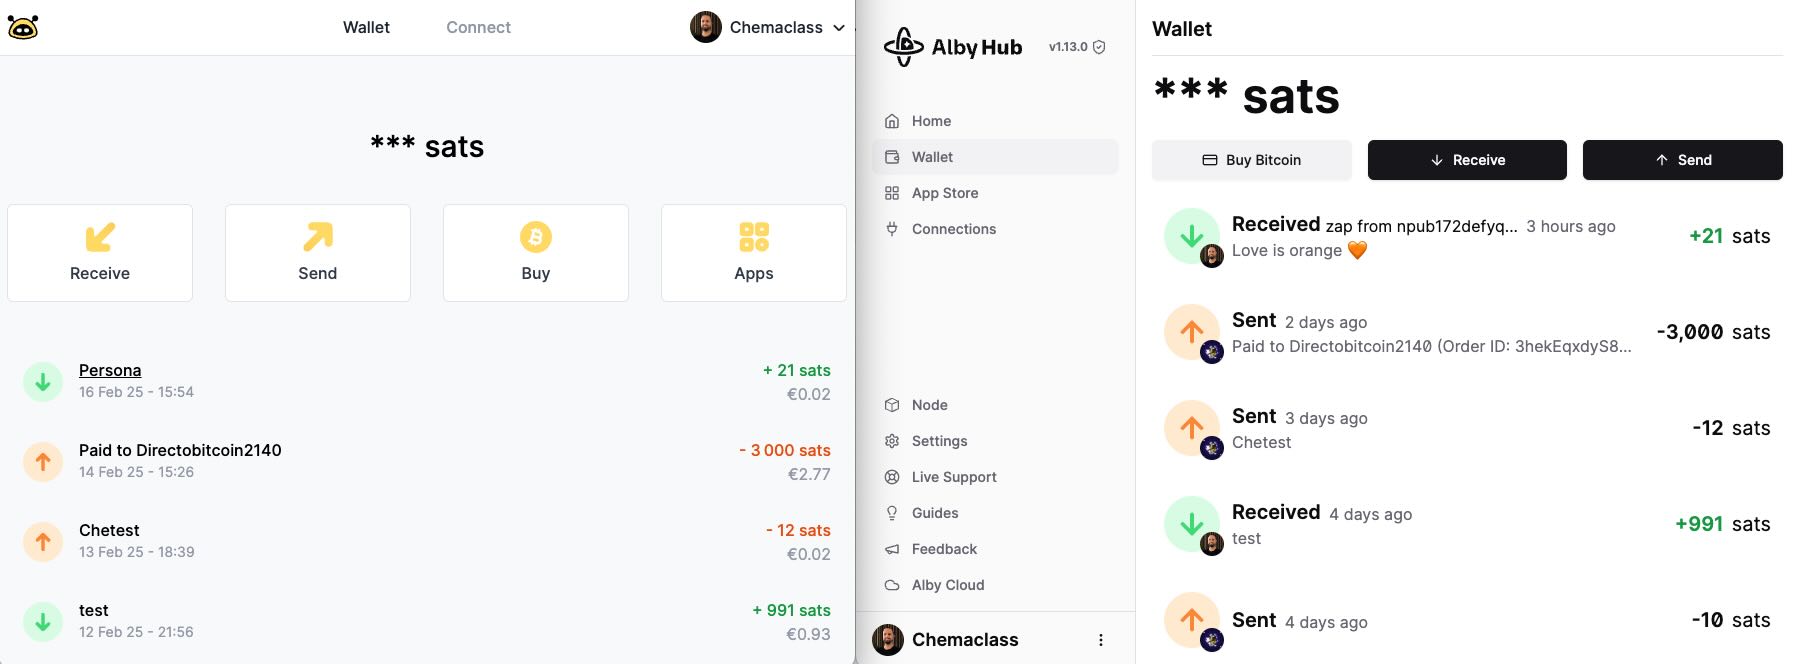
Disclaimer: the testhub LN address was created only for testing and tutorial purposes. My real address is chemaclass ;)
Maintenance and Troubleshooting
Updating Your Node
Similar to the installation process, there’s a script available to update your node. You can find it in the source repository: GitHub - Alby Hub Update Script
ssh testhub@testhub.local '/bin/bash -c "$(curl -fsSL https://getalby.com/install/hub/pi-aarch64-update.sh)"'Handling Power Outages
If the power goes out, the Raspberry Pi will turn off. Once power is restored, it will automatically restart, but Alby Hub will prompt you to enter the password you set earlier.
Related links